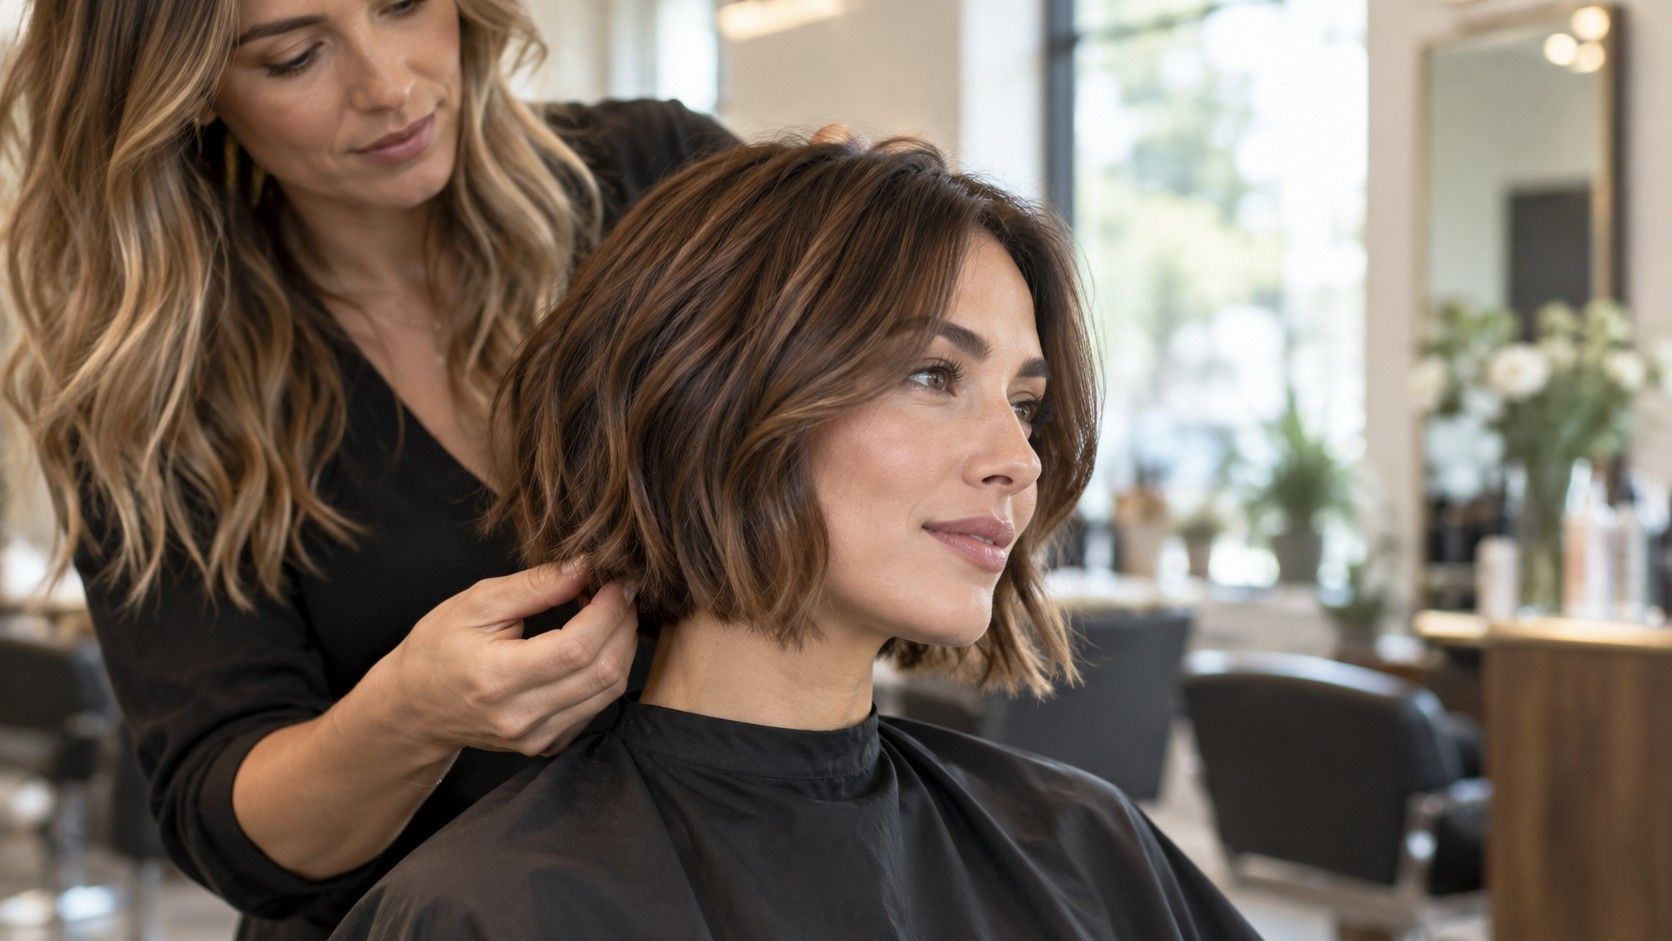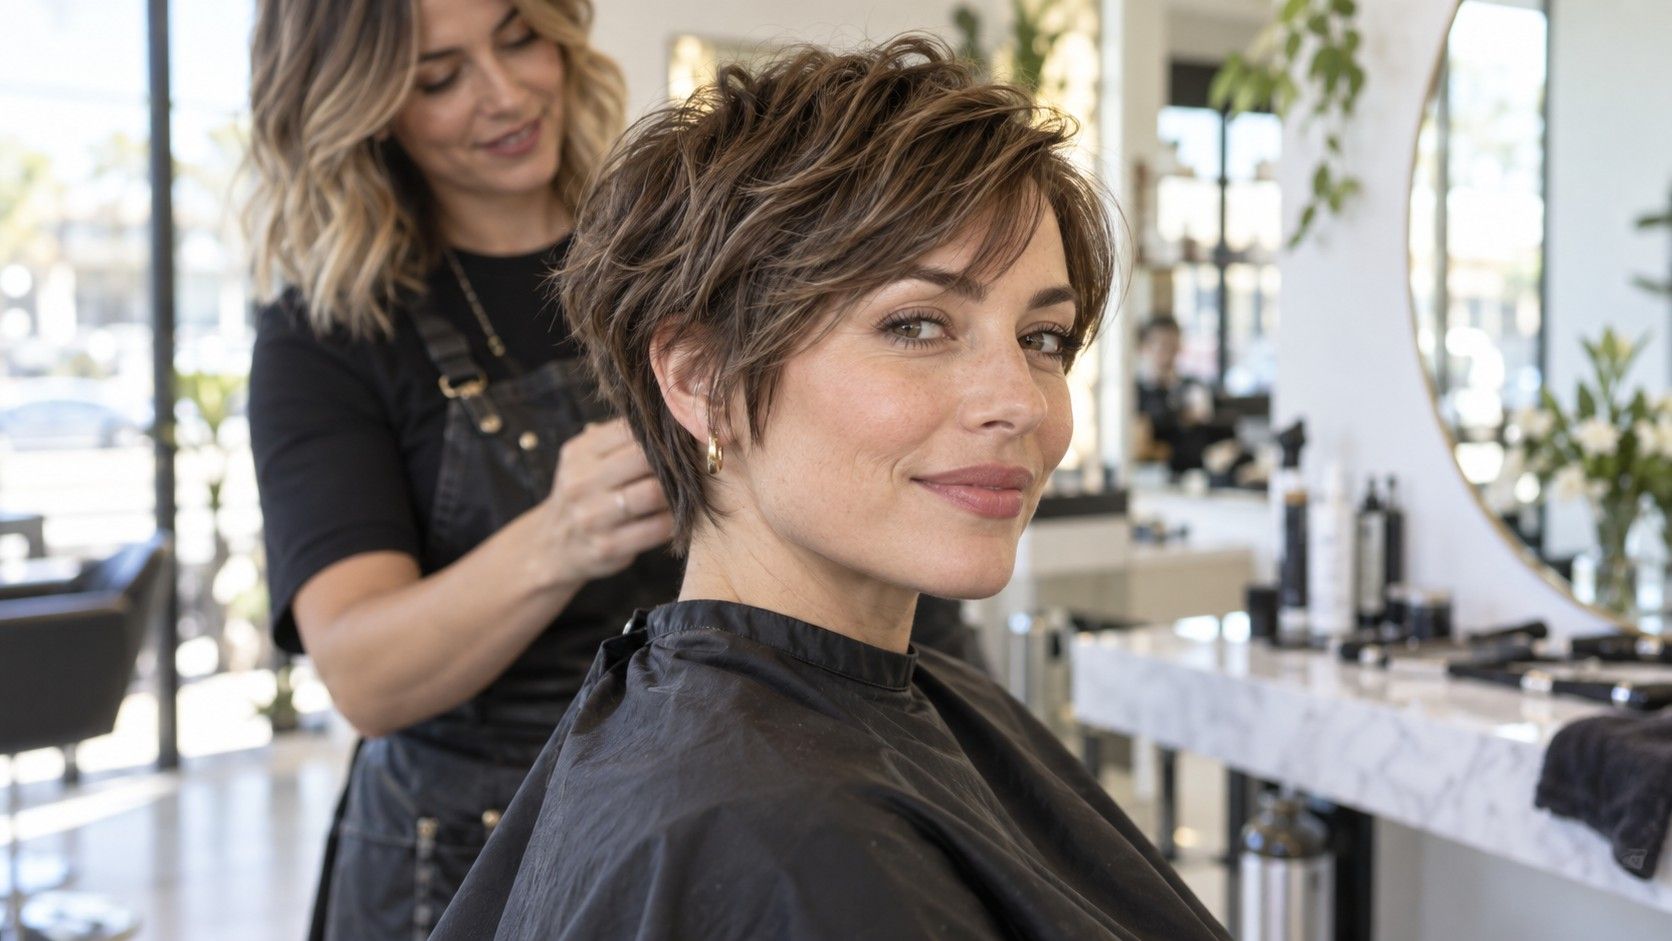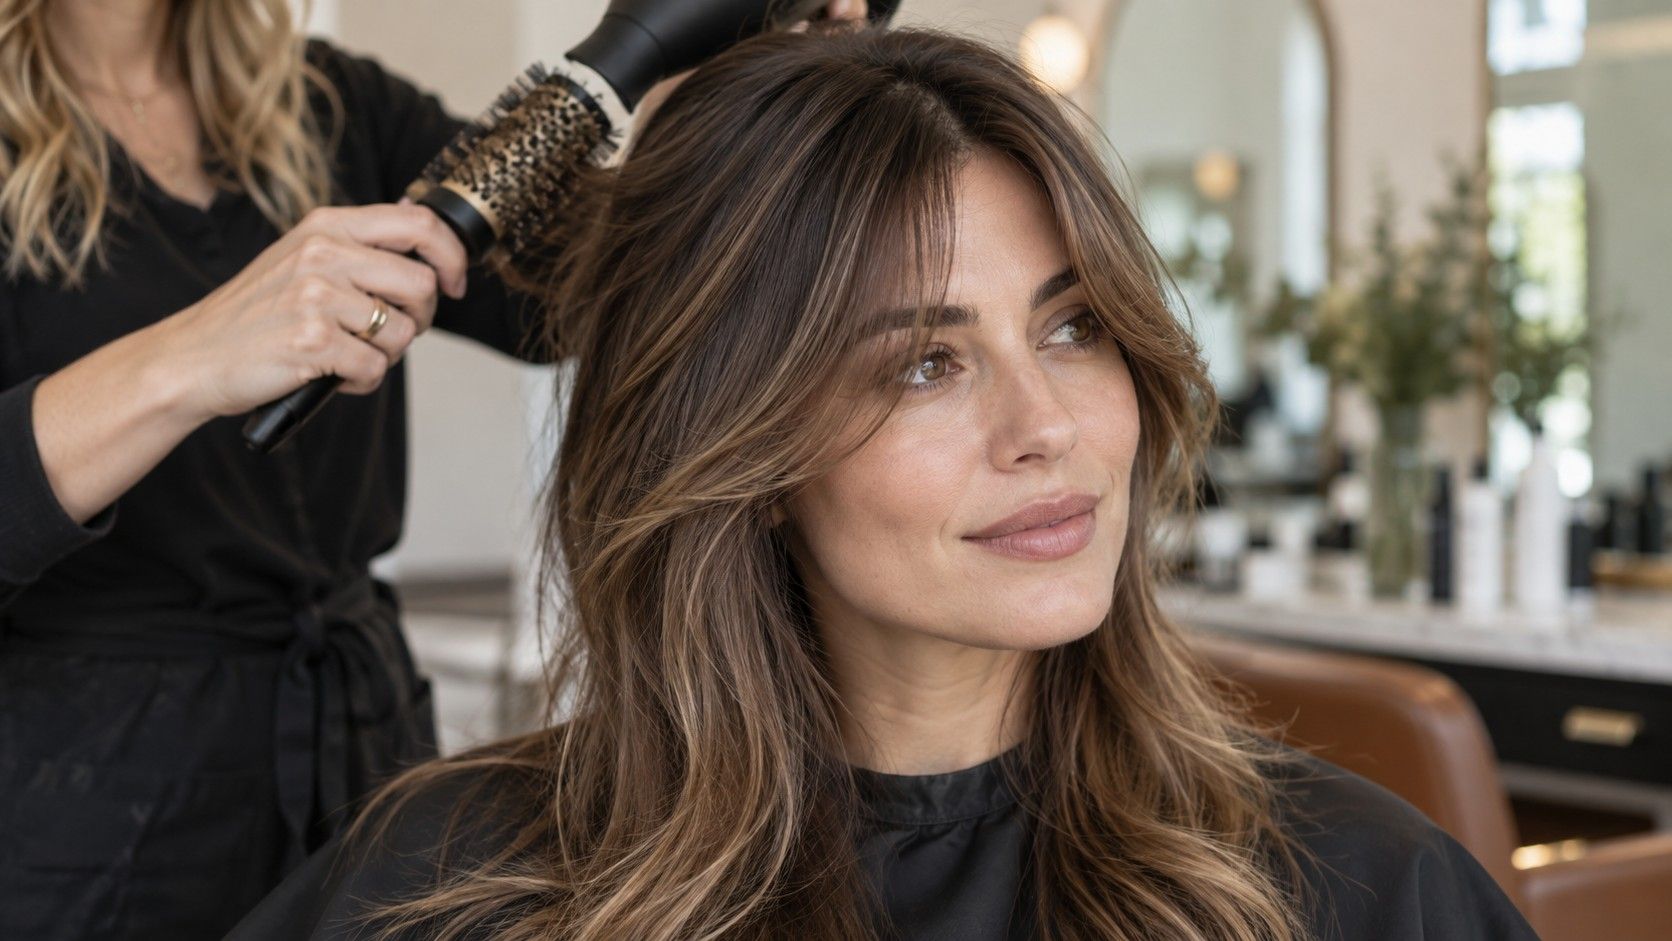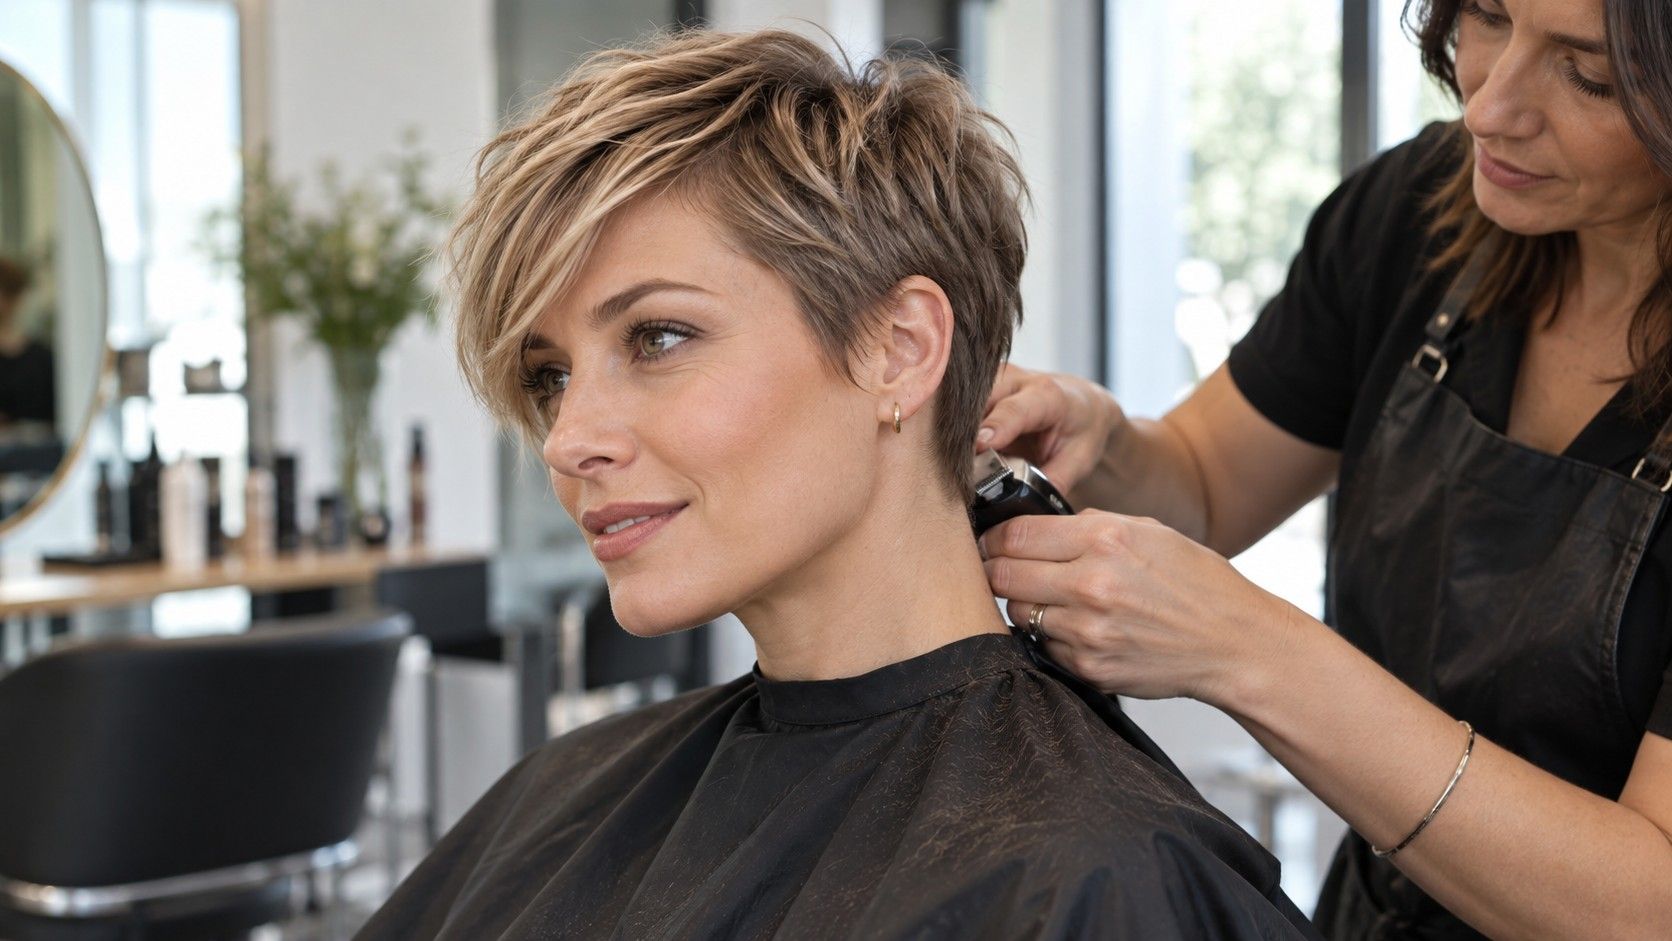
A pixie haircut is short, but it is not one fixed look. The useful decision is not whether your face is ‘right’ for a pixie; it is where you want softness, where you can live with exposure, and how much styling you will actually do before work. A good crop can be quiet and polished or deliberately piecey, but its success usually comes down to the crown, nape, fringe, and maintenance plan.
Choose your pixie length before the salon
Bring a few references that show the side and back as clearly as the front. A photo taken straight on can hide a very tight nape, a disconnected undercut, or a crown that stands much higher than expected. Decide first whether you want hair to cover the top of the ear, skim the cheekbone, or sit completely above the ear. Those are different appointments, not small variations of the same cut.
The nape is the commitment point. A close tapered nape feels clean for longer, yet it reveals growth quickly and can make a short neck look more exposed. Leaving a little softness at the neckline gives the cut a less severe edge and makes the next six weeks easier. At the crown, ask for enough length to move when you push it with your fingers; a crown cut too short can turn into a fixed bump, especially on dense hair.
Face shape is better used as a placement tool than a rulebook. A rounder face often benefits from height or a diagonal fringe rather than identical length around the head. A long face may feel more balanced with a fuller side and a fringe that breaks the forehead. If you wear glasses, mention them. The temple area and sideburn length can either frame the arms of the glasses neatly or make the whole outline feel crowded.
Soft, textured, and sharp pixie shapes
A soft pixie has blended edges, a movable crown, and a nape that is tapered rather than shaved. It suits someone who wants a short silhouette without seeing every clipper line. This version often works well with a side-swept fringe because the transition from front to crown stays gentle. It can look polished with a blow-dry, but it does not collapse completely when air-dried.
A textured crop uses visible separation: shorter pieces around the crown, irregular tips through the fringe, and a little space between strands. The texture should be cut into the shape, not created only with product. If the stylist relies on wax to manufacture every spike, the hair may look flat when you wash it. Fine hair usually needs restrained texturizing; too many thinned-out ends can make it look transparent in daylight.
A sharp pixie is more graphic. It may pair a close undercut with a long top, a clean temple line, or a blunt micro-fringe. It has a strong point of view, which is why it needs a precise consultation. Ask where the disconnect begins and whether the top can still be worn flat. Thick, straight hair can make this shape look striking; hair with several cowlicks may require more morning work to keep the sections sitting where they belong.
| Pixie direction | Useful when | Watch for |
|---|---|---|
| Soft and blended | You want forgiving grow-out and a gentle outline | Too much blending can remove needed crown lift |
| Textured crop | You like finger styling and visible movement | Over-thinning can weaken fine hair |
| Undercut pixie | You want contrast and a cooler, lighter feel | The shaved area needs frequent cleanup |
Use fringe to change the overall balance
Fringe is the adjustable part of a pixie. A longer side-swept fringe softens the forehead and gives you something to tuck, sweep back, or leave loose on low-effort days. It also creates a bridge into a longer bixie if you later decide to grow out the cut. The trade-off is that it needs direction while drying; a fringe left to dry randomly will usually separate along its natural cowlick.
A short, broken fringe puts attention on the eyes and brows. It can be excellent for someone who likes a clear, modern outline, but it offers less camouflage on a rushed morning. Ask to see the fringe dry before the final length is taken. Wet hair springs up, and a few millimetres matter when the fringe ends above the brow.
Do not choose fringe solely to hide a feature. A heavy forward section can make a small crown look flatter, while a deep side part can uncover more forehead than expected once the hair shifts. Try changing your part at home for a week before the appointment. The way your hair naturally falls gives the stylist more useful information than a filtered inspiration photo.
Style a pixie for fine or thick hair
Fine hair usually responds best to a light approach. Start with a small amount of mousse or root spray on damp hair, then dry the crown in the opposite direction from where you want it to finish. Once the roots are dry, use a pea-sized amount of matte paste only on the ends. Rubbing product through the roots is the fastest way to lose the airy lift that made the cut appealing in the first place.
Thick hair needs shape before product. Blow-dry the nape and sides close to the head, then decide whether the crown should be smooth, lifted, or separated. A cream can control bulk without the brittle finish of a strong wax. If the hair puffs at the temple, apply product to your hands, press them lightly over that area, and leave it alone. Reworking the same patch tends to create a stiff, overhandled surface.
For wavy or curly texture, a pixie can look better when it keeps a little irregularity. Use a curl cream or light gel, scrunch once, and allow the pattern to form. A diffuser helps if the crown needs lift, but do not chase identical curls in every section. The charm of short pixie hairstyles with texture is their variation; a perfectly controlled finish can make the cut look helmet-like.
Understand the grow-out phase
A pixie cut does not suddenly become long hair; it passes through several awkward decisions. Around four to six weeks, the nape and around-ear area usually need attention. At eight to ten weeks, the crown may begin to lose its intended outline. A small shaping appointment is often more useful than waiting for a complete reset, because it protects the balance between the back and the fringe.
If you expect to grow it out, say so before the first cut. The stylist can leave a little more length at the front and temples, avoid an aggressively shaved nape, and build a route toward a bixie or short bob. During the transition, resist trimming every uneven bit at home. The unevenness is often the very length needed to connect the top to the sides later.
Keep one styling option for the in-between stage: a side part, a small amount of bend from a flat iron, or a textured finish that disguises changing layers. Growth is less frustrating when you change the shape gradually instead of expecting the original pixie silhouette to remain intact. The best pixie cut guide is practical about that rhythm: short hair looks intentional when it is maintained, and it grows out more gracefully when the plan starts on day one.